Getting Started
Digital Illustration Introduction: Your First Sketch
Don't worry about having no drawing experience. We cover tool basics, brush selection, and how to build confidence with your first digital artwork.

Starting From Scratch
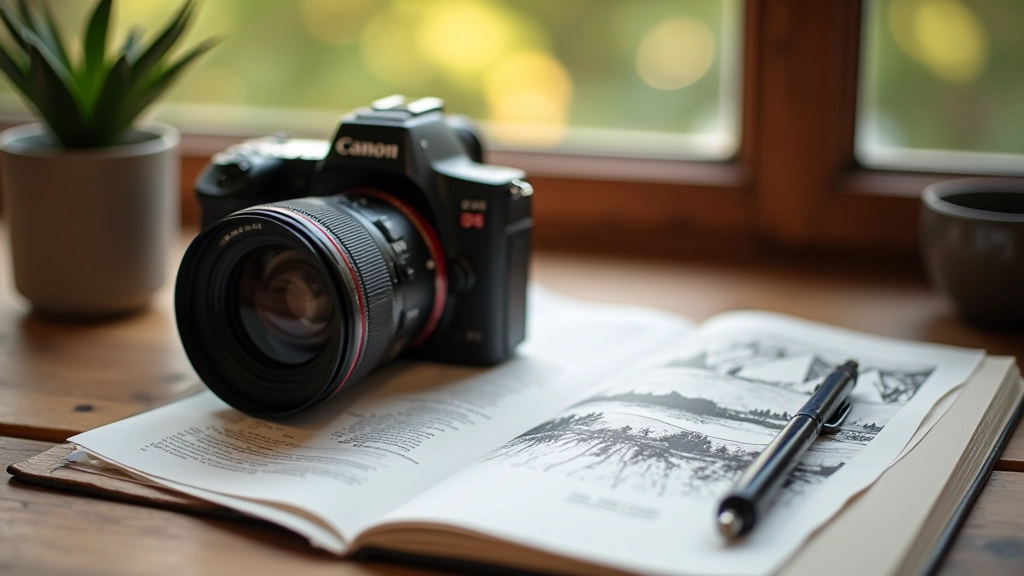
Most people think digital illustration requires years of drawing experience. That's simply not true. What it actually requires is curiosity and willingness to experiment. You're going to learn that your tablet isn't some magical device — it's just a tool. Like a pencil or brush, but with incredible flexibility.
The beautiful part? You can undo anything. Erase mistakes instantly. Try wild color combinations without wasting materials. This freedom is exactly what makes digital drawing perfect for beginners. You're not scared to experiment because there's no consequence.
In this guide, we'll walk through the essentials. You'll understand what equipment you actually need (spoiler: not as much as you think), how to choose brushes that work, and most importantly, how to create your first piece without getting frustrated.


Your First Setup
You need three things to start: a tablet, software, and patience. Let's break this down because most beginners overthink the equipment part.
Tablets come in two types. Pen displays let you draw directly on the screen — this feels natural, like drawing on paper. Regular graphics tablets connect to your monitor but you draw on the tablet surface while watching the screen. Both work fine. A basic pen display runs around 150-300 euros. That's genuinely affordable compared to traditional art supplies.
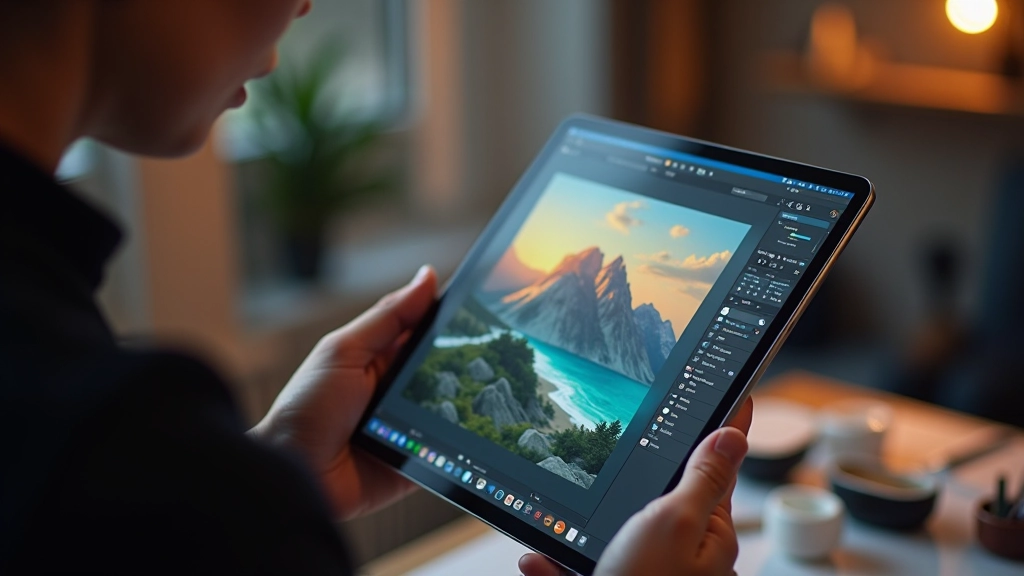
For software, Procreate is standard if you're on iPad. It's 12 euros, one-time purchase, and it's powerful enough for professional work. On desktop, you've got Clip Studio Paint (excellent for illustration), Photoshop (industry standard but expensive), or free options like Krita and Rebelle. Don't let software choices paralyze you — start with whatever's available. The skills transfer perfectly.
The patience part? That's non-negotiable. You won't create gallery-worthy art on day one. Most artists spend 3-6 weeks just getting comfortable with pressure sensitivity and hand coordination. That's completely normal.
Understanding Brushes
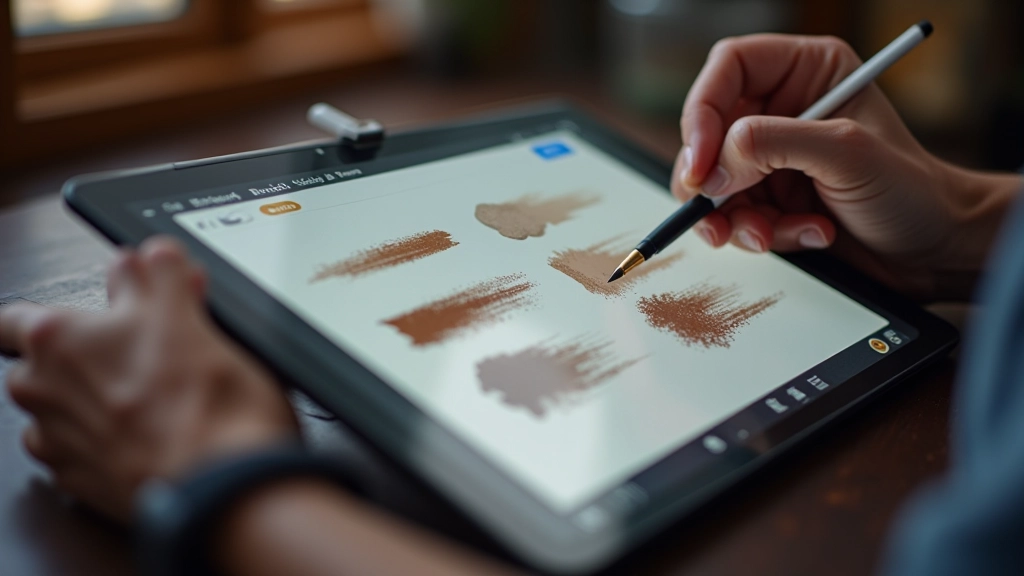
Here's what new artists get wrong: they think they need hundreds of brushes. You don't. You need maybe five good brushes. That's it.
Start with these essential types. A round brush with soft edges handles basic sketching and painting. A textured brush adds organic feeling to backgrounds and foliage. A hard-edged brush works for precise lines and details. A chalk or charcoal brush creates rough texture. That covers 90% of what you'll do in your first year.
The important settings are opacity (how transparent the stroke is), size (obviously), and pressure sensitivity. When pressure sensitivity is on, pressing harder creates darker or thicker strokes — just like real drawing. This single setting transforms digital drawing from feeling robotic to feeling natural.
Don't get distracted downloading 500-brush packs. You won't use them. Master three brushes completely, then add more only when you hit a specific limitation.
Your First Sketch: The Process
Walk through these steps and you'll have a complete sketch by the end.
01
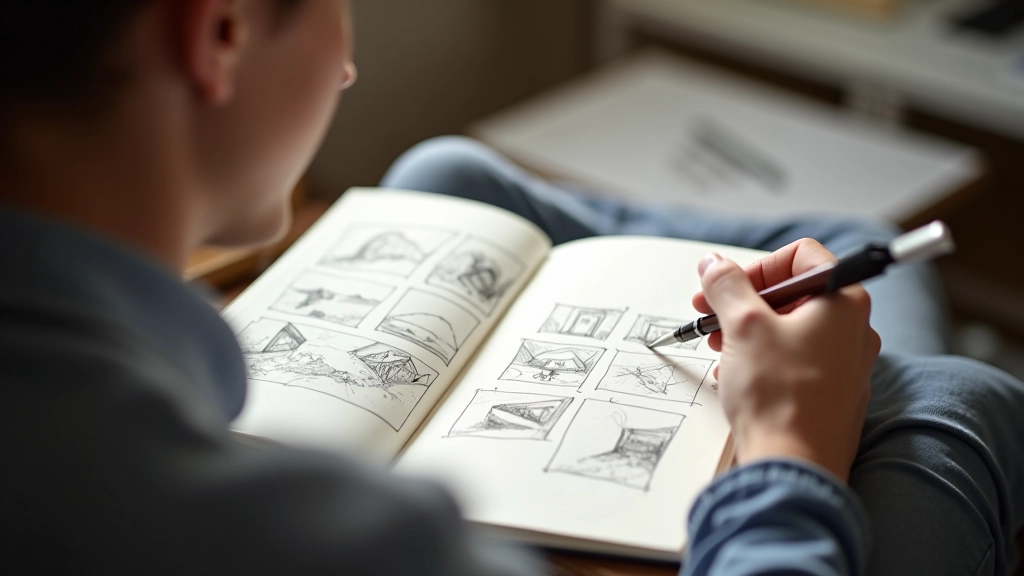
Start Light and Loose
Create a new canvas. Set brush opacity to 30-40% and draw very lightly. We're just capturing basic shapes and proportions. Don't aim for accuracy yet. Think of this as building an invisible skeleton for your drawing.
02
Refine the Outline
Increase brush opacity to 70-80% and begin outlining over your light sketch. This is where you correct proportions and add detail. Don't obsess over perfection — slight imperfections actually make drawings feel more alive.
03
Add Base Colors
Select your color palette — start simple with 3-5 main colors. Use a larger brush at full opacity and block in basic colors. Don't blend yet. You're establishing what's what before adding dimension.
04
Shade and Blend
This is where it gets fun. Pick darker versions of your colors and add shadows. Use a softer brush for blending transitions between colors. You're creating depth and dimension. Build up gradually — each layer adds richness.
Common Beginner Mistakes
These are patterns we see repeatedly. Knowing about them now saves you weeks of frustration.
Pressure Sensitivity Too High
You're pressing hard thinking you need to force it to work. This creates inconsistent lines. Light touch. Let the tablet read your pressure. It's sensitive enough.
Skipping the Sketch Phase
Jumping straight to details sounds efficient but wastes time. Spend 10 minutes on basic shapes. It's the difference between a wobbly drawing and a solid one.
Colors Too Saturated
Bright colors feel exciting but make drawings look amateurish. Reduce saturation slightly. Professional work uses more muted, sophisticated color palettes.
Never Using Layers
Layers are your secret weapon. Sketch on one layer, colors on another, details on a third. You can adjust each independently without affecting others.
Building Confidence Through Practice
The path from "I can't draw" to "I'm actually getting good at this" takes consistent practice. Not grueling practice. Enjoyable practice.
Dedicate 20-30 minutes three times per week to drawing. That's genuinely enough. Consistency matters far more than marathon sessions. Your brain learns and your hand develops muscle memory gradually.
Start with subjects you love. If you're into flowers, draw flowers. Animals? Animals. Food? Food. The engagement keeps you motivated through the awkward early phase. By week 4-5, you'll notice real improvement. By week 8-12, you'll be shocked at what you can create.
Keep your first drawings. Seriously. Come back to them in three months and you'll see the progress clearly. That's incredibly motivating.
"The goal of the first piece isn't to create a masterpiece. It's to prove to yourself that you can do it. That's the real win."
— Digital Art Coach, Prague
Your First Sketch Awaits
Digital illustration isn't a mystery. It's a skill that builds with practice. You've got the fundamentals now — equipment doesn't need to be fancy, brushes don't need to be numerous, and technique improves predictably over time.
The hardest part? Starting. Open that software today. Create a new canvas. Draw something simple. A cup. A flower. A face. Anything. You'll be surprised how quickly it starts feeling natural.
Every professional digital artist you admire started exactly where you are right now. They felt uncertain. They made mistakes. They kept drawing. Now it's your turn.
Educational Note
This article is educational and informational in nature. The techniques and recommendations described are based on common practices in digital illustration. Individual results vary based on personal experience, software choices, and practice commitment. Equipment specifications and software recommendations are accurate as of March 2026 but may change over time. Always consult current reviews and product specifications before making purchases. This content isn't a substitute for formal instruction or professional guidance — it's meant to introduce beginners to the fundamental concepts of digital illustration.
Related Articles